Homemade Honey White Bread Recipe: A Delicious and Easy Guide
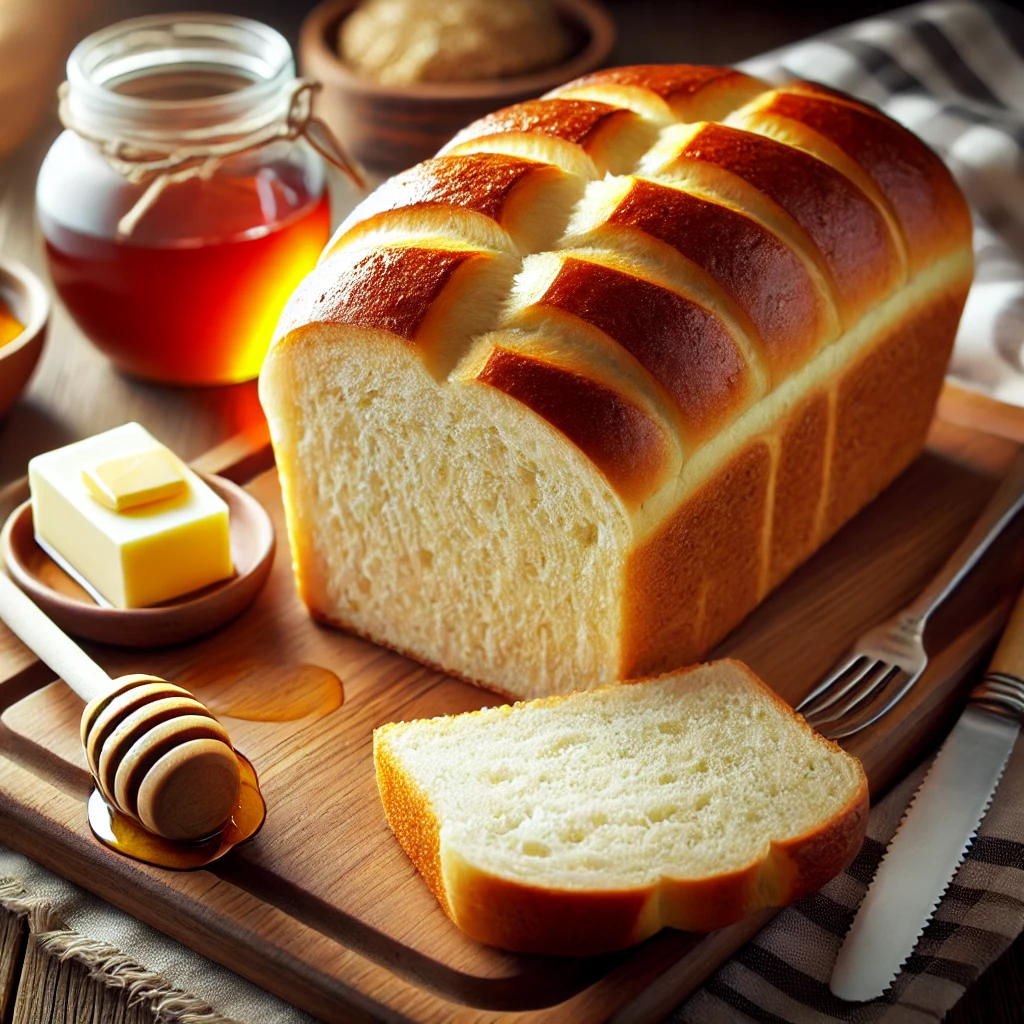
If you’re looking for a simple yet delightful honey white bread recipe, you’ve come to the right place. This homemade bread is soft, slightly sweet, and perfect for sandwiches, toast, or enjoying with butter and jam. Baking bread at home not only fills your kitchen with a heavenly aroma but also ensures you have a preservative-free, wholesome loaf.
In this comprehensive guide, we’ll cover everything you need to know to make the perfect honey white bread from scratch. Follow along for tips, ingredients, and step-by-step instructions to bake a loaf your family will love.
Why Choose Honey White Bread?
Honey white bread offers a unique combination of flavors and benefits:
Natural Sweetness: The honey adds a subtle sweetness without being overpowering.
Soft Texture: Perfect for sandwiches and toast due to its pillowy softness.
Wholesome Ingredients: No preservatives or artificial additives.
Easy to Make: Suitable for both beginners and experienced bakers.
Ingredients for Honey White Bread
To make this delicious honey white bread, you’ll need the following ingredients:
4 cups all-purpose flour (or bread flour for extra softness)
1 ½ cups warm water (110°F/45°C)
¼ cup honey (raw or organic honey works best)
2 tablespoons unsalted butter, softened
2 teaspoons salt
1 packet (2 ¼ teaspoons) active dry yeast
Optional: 1 tablespoon milk for brushing the top
Equipment Needed
Large mixing bowl
Measuring cups and spoons
Stand mixer with a dough hook (optional)
Loaf pan (9×5 inches)
Clean kitchen towel
Wire cooling rack
Step-by-Step Instructions for Honey White Bread
Step 1: Activate the Yeast
Start by combining the warm water and honey in a large mixing bowl. Stir well until the honey dissolves. Sprinkle the active dry yeast over the water and let it sit for about 5-10 minutes until it becomes foamy. This step ensures your yeast is alive and ready to work.
Step 2: Mix the Dough
Once the yeast is activated, add the softened butter and salt to the bowl. Gradually add the flour, one cup at a time, stirring with a wooden spoon or using a stand mixer with a dough hook attachment. Mix until a shaggy dough forms.
Step 3: Knead the Dough
Transfer the dough onto a lightly floured surface. Knead for about 8-10 minutes until the dough becomes smooth and elastic. If you’re using a stand mixer, knead for about 5-7 minutes on low speed.
Pro Tip: If the dough feels too sticky, add a tablespoon of flour at a time. Avoid adding too much, as it can make the bread dense.
Step 4: First Rise (Proofing)
Place the kneaded dough into a greased bowl, turning it once to coat all sides with oil. Cover the bowl with a clean kitchen towel and let the dough rise in a warm place for about 1-2 hours or until doubled in size.
Step 5: Shaping the Dough
Once the dough has doubled, punch it down to release excess air. Transfer it to a floured surface and shape it into a loaf by rolling it into a rectangle and folding it into a tight log.
Step 6: Second Rise
Place the shaped dough into a greased loaf pan. Cover it again and let it rise for another 30-45 minutes until it puffs up above the edge of the pan.
Step 7: Baking the Bread
Preheat your oven to 350°F (175°C). For a shiny golden crust, brush the top of the loaf with a bit of milk. Bake the bread for 30-35 minutes or until the top is golden brown and the loaf sounds hollow when tapped.
Step 8: Cooling the Bread
Once baked, remove the bread from the oven and let it cool in the pan for 5 minutes. Then, transfer it to a wire rack to cool completely before slicing.
Tips for Perfect Honey White Bread
Use Fresh Yeast: Ensure your yeast is fresh and active for the best rise.
Warm Environment: Yeast thrives in a warm, draft-free environment (around 75°F/24°C).
Avoid Over-Flouring: Too much flour can lead to a dense loaf. Add flour gradually.
Cool Before Slicing: Allow the bread to cool fully to avoid a gummy texture when slicing.

How to Store Honey White Bread
Room Temperature: Store the bread in an airtight container or bread box for up to 3 days.
Freezing: Wrap the loaf tightly in plastic wrap and freeze for up to 3 months. Slice it before freezing for easy use.
Reheating: Toast slices or warm the entire loaf in the oven for a few minutes.
Health Benefits of Honey White Bread
While white bread often gets a bad rap, using honey as a natural sweetener adds some benefits:
Rich in Antioxidants: Honey contains antioxidants that support overall health.
Less Processed Sugar: Reduces the need for refined sugars.
Easier Digestion: Honey aids digestion compared to regular sugar.
Variations to Try
Whole Wheat Honey Bread: Swap half the white flour with whole wheat flour for a heartier loaf.
Honey Butter Bread: Brush melted honey butter on top after baking for extra sweetness.
Herbed Honey Bread: Add herbs like rosemary or thyme for a savory twist.
Why This Honey White Bread Recipe Stands Out
Easy for Beginners: Simple steps with no complicated techniques.
Perfect Balance of Sweetness: Honey provides just the right amount of sweetness.
Versatile Use: Great for sandwiches, toast, or dinner rolls.
Freezer-Friendly: Ideal for meal prepping and long-term storage.
Conclusion
This honey white bread recipe is a must-try for anyone who loves baking homemade bread. With simple ingredients, easy instructions, and a deliciously soft texture, it’s perfect for both beginners and seasoned bakers. Whether you enjoy it for breakfast, lunch, or dinner, this loaf will surely become a family favorite.
Ready to bake? Try this honey white bread recipe today and experience the joy of homemade bread like never before!
Don’t forget to share your results and let us know how your bread turns out. Happy baking!


